| Importing Clients' Information |
|
Before importing your clients into Client Track, you must export your clients' information
first from one of the software packages listed on the left side of the menu. |
|
| Follow the instructions below on how to export your clients' information into a text/CSV file. |
|
|
|
| Profile T1 I Profile T2 |
|
|
|
| Exporting Clients From Profile T1 |
|
| STEP 1 |
|
 |
|
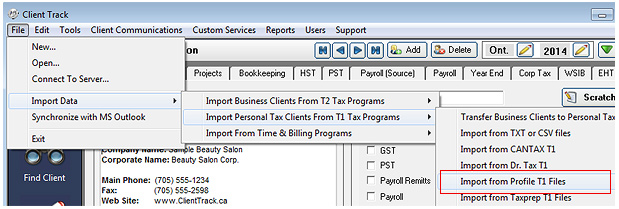
| From the main menu in Client Track, go to Import Data > ...From T1 Tax> . |
|
| STEP 2 |
|
 |
|
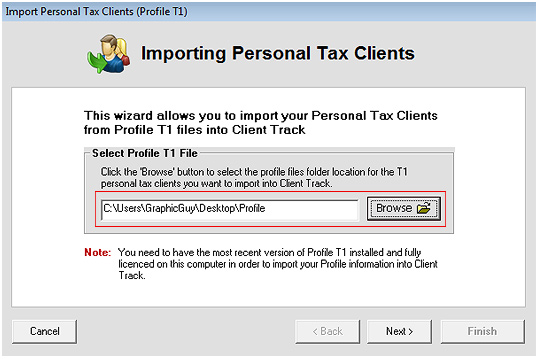
| 1) Click and select the Profile T1 folder location from your computer. |
|
| 2) Click . |
|
 |
|
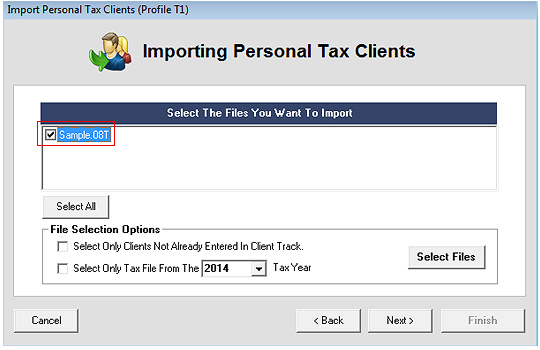
| 3) Check off which Profile T1 file(s) you want to import and click . |
|
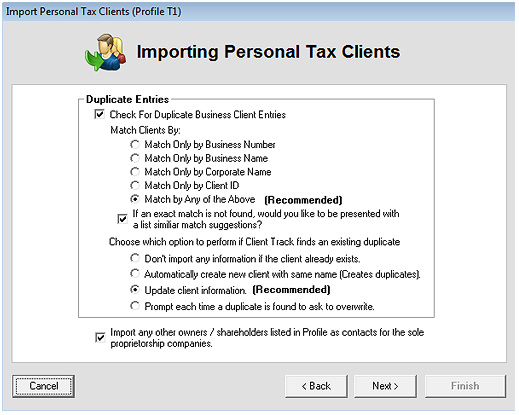
| STEP 3 |
|
 |
|
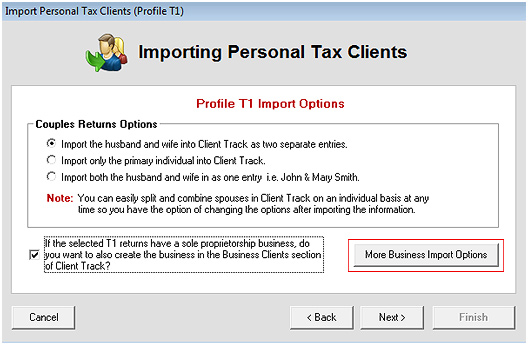
| 1) Select . |
|
| 2) Click . |
|
 |
|
3) Check off and then select 'Match by any
of the above' and . |
|
| 4) Click two times and then click to complete the import. |
|
| 5) After import has been successful, click . |
|
| Exporting Clients From Profile T2 |
|
| STEP 1 |
|
 |
|
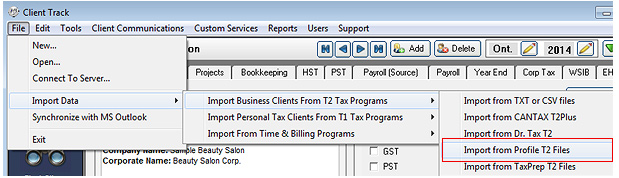
| From the main menu in Client Track, go to Import Data > ...From T2 Tax> . |
|
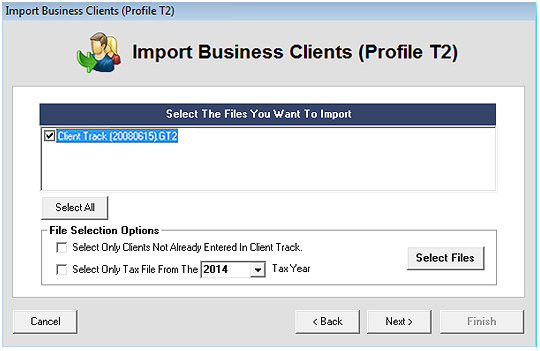
| STEP 2 |
|
 |
|
| 1) Click and select the Profile T2 folder location from your computer. |
|
| 2) Click . |
|
 |
|
| 3) Check off which Profile T2 file(s) you want to import and click . |
|
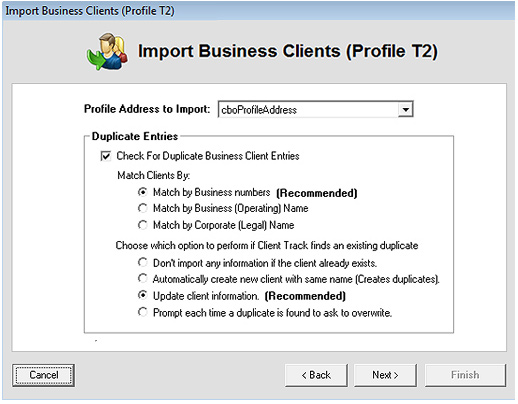
| STEP 3 |
|
 |
|
1) Check off and then select'Match by
Business numbers' and . |
|
| 2) Click two times and then click to complete the import. |
|
| 3) After import has been successful, click . |
|