If a time entry for client hasn't been created, follow all steps
here.
Note: If you have already created an invoice for a time entry,
go to Step 2 below.
Step 2
From menu, go to
Time & Billing> Create Invoice
Step 3
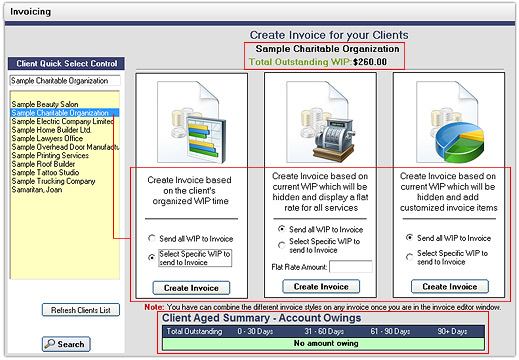
1) Click Refresh Clients List.
2) Select a client from list under to create invoice for. The total invoice costs for client
will appear on top beside Total Oustanding WIP and any outstanding invoice
costs that haven't been paid on time will appear on bottom under Client Aged
Summary as shown above.
3) Select Select Specific WIP to send to Invoice.
4) Click Create Invoice.
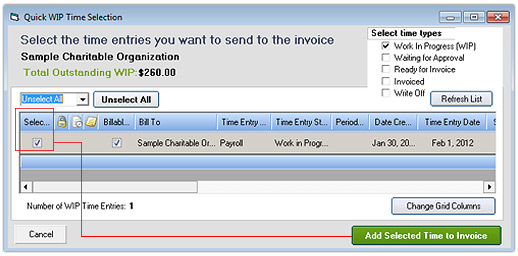
5) If single or multiple entries appear on list based on same status (WIP), check off
which entries to create invoices for as shown above.
6) Click Add Selected Time to Invoice.
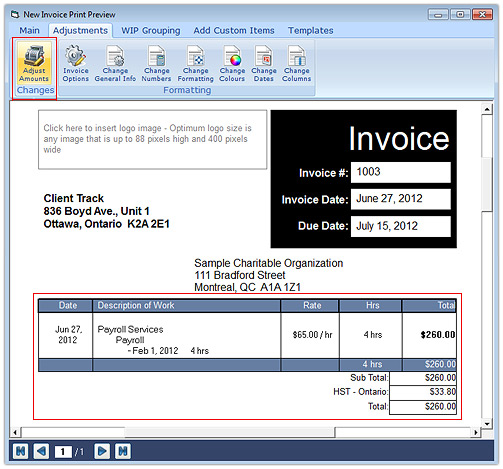
Step 4
After the invoice has been generated, click the Adjustments tab and then Adjust
Amounts as shown above.
Step 5
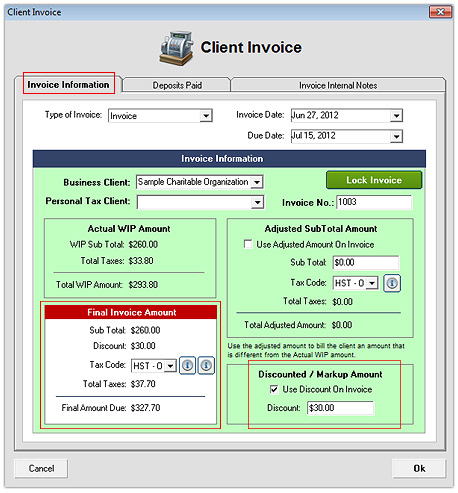
2) In the Invoice Information tab, select a tax code from drop-down list as show above
(i.e. HST - Ontario). The final amount due amount will automatically change based on
the tax selected. For more information on how to create tax rates, go here.
3) Optional: Check off Use Discount on Invoice to apply a special discount for client.
The final amount due will include any discounts applied.
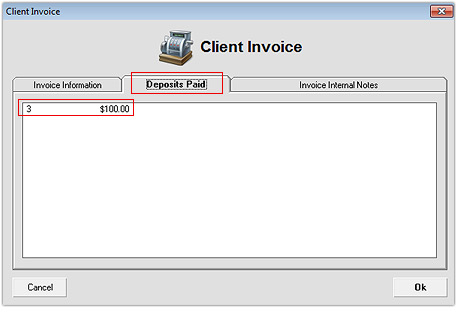
5) Click the Deposits Paid tab.
6) Any deposits given by client towards invoice will show up in the list as shown above.
5) Click Ok to save adjustments.
Note: The deposit(s) do not physically appear on the invoice. They only appear in the
client's account summary in Client Track. See Step 3here.
Step 6
1) Double-check the invoice to ensure everything is correct including new adjustments.
2) Click Post Invoice under the Main tab. After an invoice has been posted, you can
view, edit and delete invoice using the View AR icon in Client Track. To learn how,
follow the instructions in Steps 3-4 here.
Note: To add and bill custom items to an invoice for
client, click here.