|
|
|
|
Step 1 |
|
|
|
|
|
If an invoice hasn't been created, follow all steps
here. |
|
|
|
|
|
Note: If you have already created an invoice,
go to Step 2 below. |
|
|
|
|
|
Step 2 |
|
|
|
|
|
 |
|
|
|
|
|
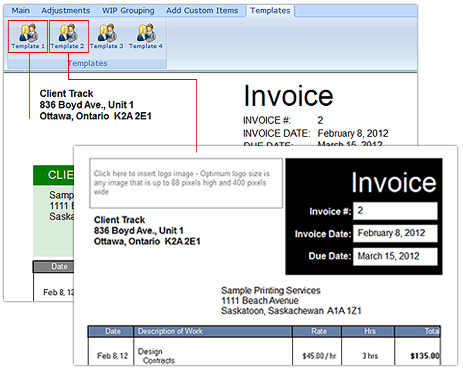
1) Click the Templates tab from the invoice menu. |
|
|
|
|
|
 |
|
|
|
|
|
2) Click on a template number to get preview of what the invoice will look like
for print. To edit layout for a specific template, follow the steps below. |
|
|
|
|
|
 |
|
|
|
|
|
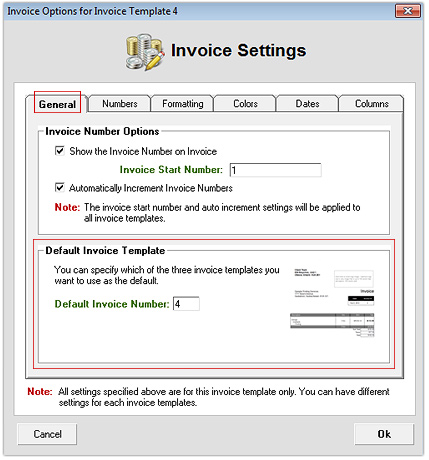
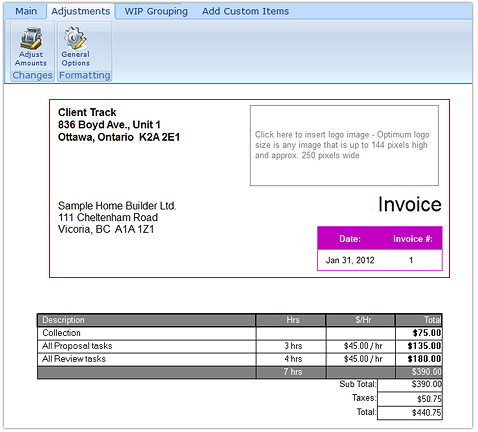
3) Click the Adjustments tab and then click General Options from invoice menu. |
|
|
|
|
|
Step 3 |
|
|
|
|
|
 |
|
|
|
|
|
1) Click the General tab and insert new default template # of your choice.
2) Click the Colors tab. |
|
|
|
|
|
 |
|
|
|
|
|
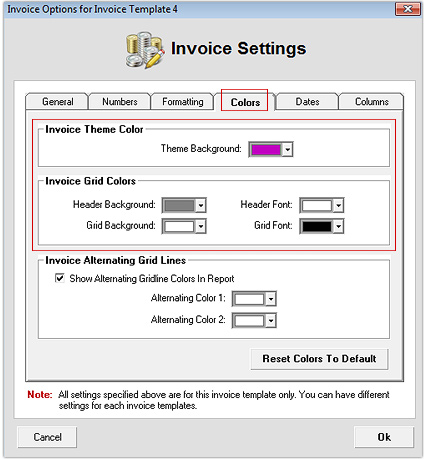
3) Customize the colors for invoice theme and grid (table chart).
4) Click Ok to save settings. |
|
|
|
|
|
 |
|
|
|
|
|
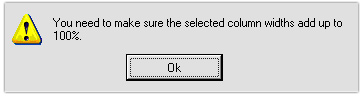
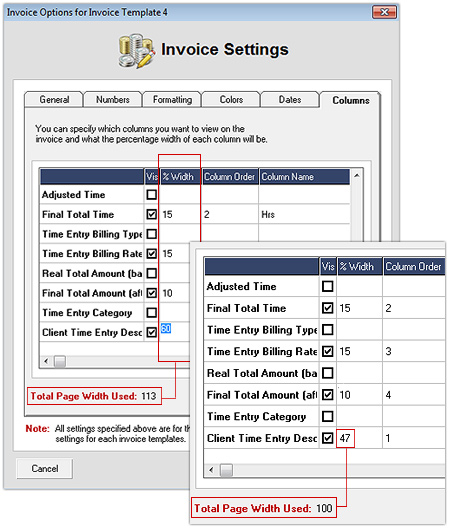
5) A warning will pop up asking to adjust the column widths. Click Ok. |
|
|
|
|
|
 |
|
|
|
|
|
6) Check off which columns to appear on invoice template.
7) Customize the % width for each selected column to add up to a total of 100%
besides Total Page Width Used.
8) Click Ok to save new invoice template settings. |
|
|
|
|
|
Step 4 |
|
|
|
|
|
 |
|
|
|
|
|
Verify that the new settings appear in the selected invoice as shown above. |
|

